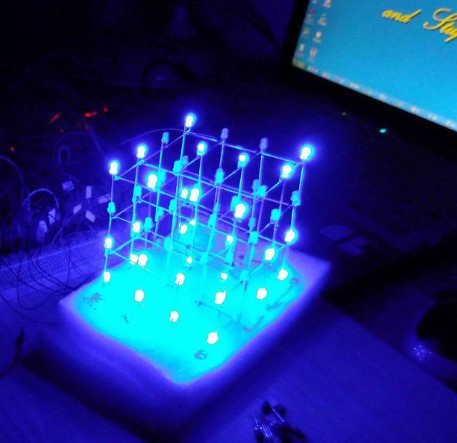
The plastic board I ordered online has not arrived yet, and I have not started to make the 8X8X8 light cube I want to make. One reason is that I don’t have enough materials, and more importantly, I always want to implement it when the plan is thorough and perfect. But I have not been idle. I made a 4X4X4 light cube prototype in the past few days, but I didn’t solder it to the board because there are many solutions that need to be tested and verified. I built it directly on two breadboards and two foam boards.
This time the LED lights can finally flash. They are controlled by a 51 single-chip microcomputer, which is okay. However, I don’t plan to use 51 for the final 8X8X8 work. I plan to replace it with AVR. There are two main considerations. One is that AVR can support serial port communication between master and slave devices, which is easy to expand. Secondly, the price is only a few dollars more expensive than 51, and it runs faster and has a larger programmable space. Then the light cube can display more patterns.
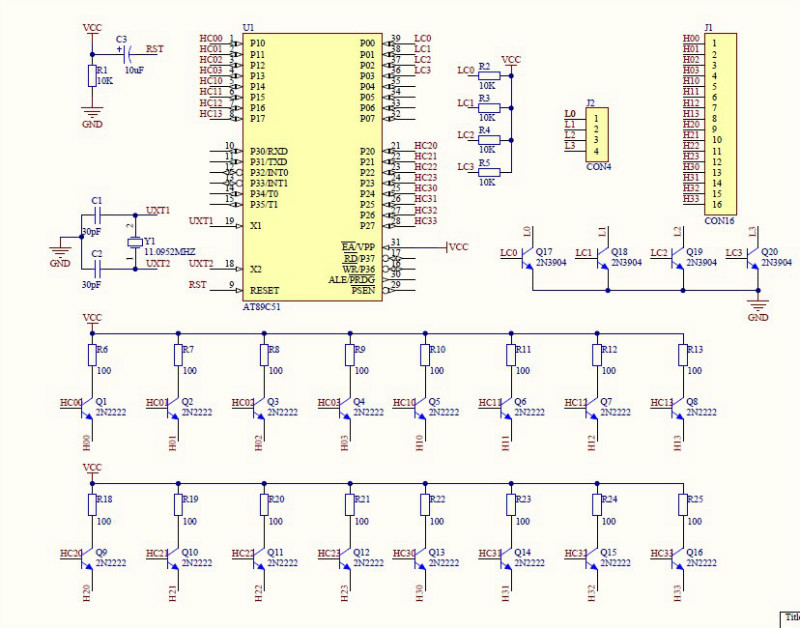
At the beginning of building the circuit, it is natural to draw the circuit diagram first:
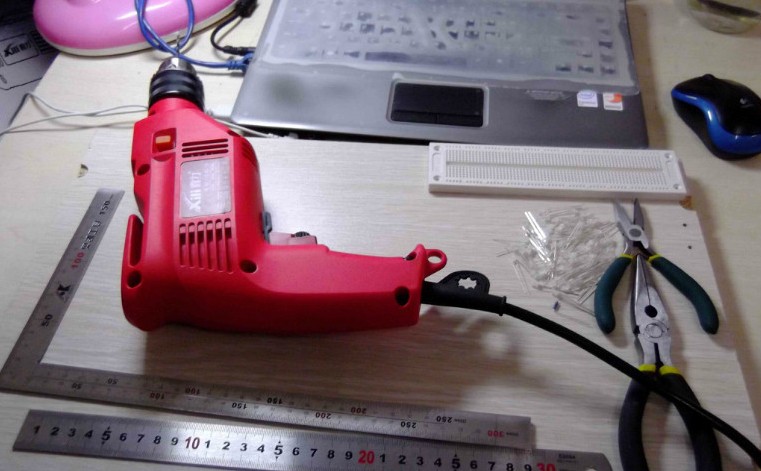
If you want to do your work well, you must first sharpen your tools: electric drill, steel ruler, oil pen, needle-nosed pliers of different sizes...
[page]
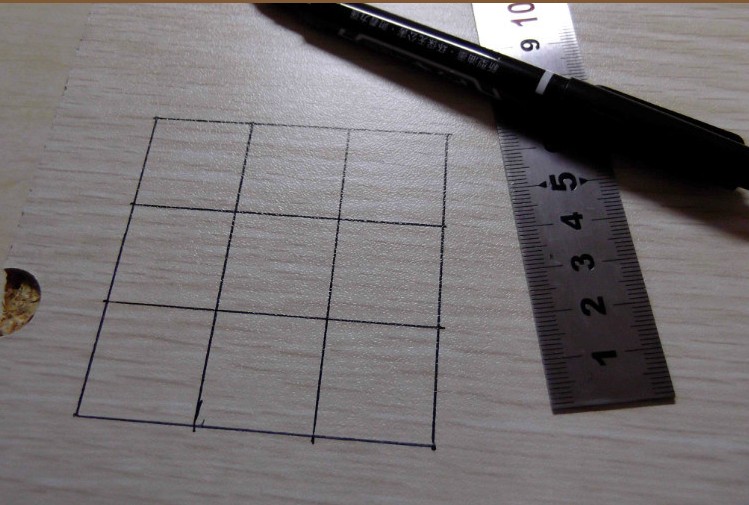
In order to facilitate the welding of the LED cube, you need to make a welding model to fix the LED tube, as shown in the figure, draw a grid on the discarded wooden board:
drilling:
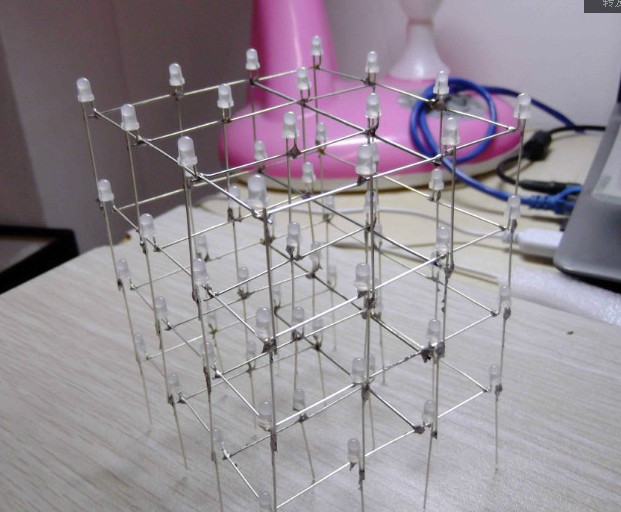
arranging the light-emitting diodes, welding: the time to test patience has come:
the last 4X4X4 light cube was successfully built:
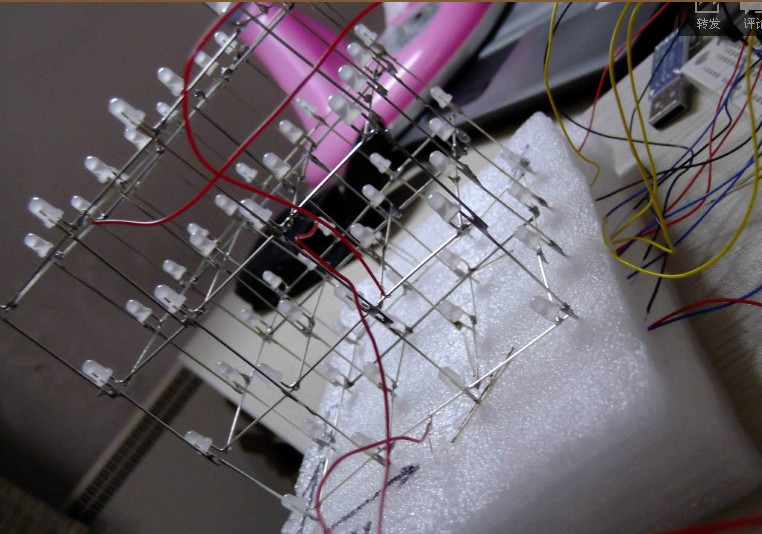
connecting wires and building circuits: using discarded foam boards to fix the light cube and the messy wiring effect is amazing:
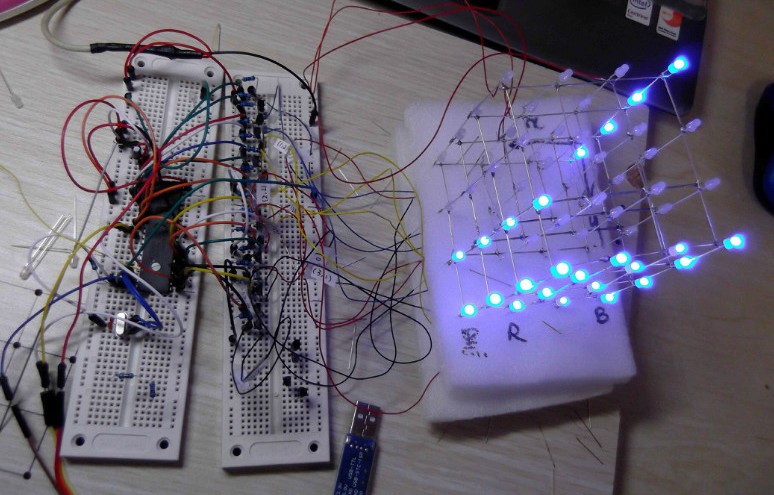
the main circuit part of the light cube: control and drive unit: full of wires, so scary, but the final version will definitely not have these messy things, the final version should be a simple, concise, and perfect work of art .
I wrote a simple program on the computer to cycle the lights and compiled it into the 51 single-chip microcomputer. This 4X4X4 light cube finally began to flash happily: but I haven't written a specific graphics library yet. This temporary guy is just a test field for myself. I have some uncertain ideas and I will implement them on it:


Previous article:It is also possible to use C language to design the game of greedy snake in single chip microcomputer
Next article:STC89C52 MCU drives CC1101 wireless module receiving C language program
 Professor at Beihang University, dedicated to promoting microcontrollers and embedded systems for over 20 years.
- LED chemical incompatibility test to see which chemicals LEDs can be used with
- Application of ARM9 hardware coprocessor on WinCE embedded motherboard
- What are the key points for selecting rotor flowmeter?
- LM317 high power charger circuit
- A brief analysis of Embest's application and development of embedded medical devices
- Single-phase RC protection circuit
- stm32 PVD programmable voltage monitor
- Introduction and measurement of edge trigger and level trigger of 51 single chip microcomputer
- Improved design of Linux system software shell protection technology
- What to do if the ABB robot protection device stops
- Huawei's Strategic Department Director Gai Gang: The cumulative installed base of open source Euler operating system exceeds 10 million sets
- Download from the Internet--ARM Getting Started Notes
- Learn ARM development(22)
- Learn ARM development(21)
- Learn ARM development(20)
- Learn ARM development(19)
- Learn ARM development(14)
- Learn ARM development(15)
- Analysis of the application of several common contact parts in high-voltage connectors of new energy vehicles
- Wiring harness durability test and contact voltage drop test method
- ST Value Series NUCLEO-G071RB Development Board Introduction
- Domestic MCU
- STM32F767 ADC self-calibration problem
- EEWORLD University ---- Digi-Key: Accelerated Application of Graph Algorithms in Deep Learning
- Echo Cancellation - How to solve the serious problem of sound swallowing during dual talk in WebRTC AEC algorithm
- FPGA Timing Constraints Practice: Sorting Out the Clock Tree
- A constant and adjustable output power electronic cigarette power supply solution based on TPS61022
- Sales of new energy vehicles have skyrocketed, how should we deal with used batteries?
- E-ON China Online Cloud Sharing Laboratory——"Microcomputer Principles and Applications"
- Improving Power Supply Network Efficiency Using Fixed Ratio Converters

 Electronics All-in-One For Dummies, 2nd Edition


 京公网安备 11010802033920号